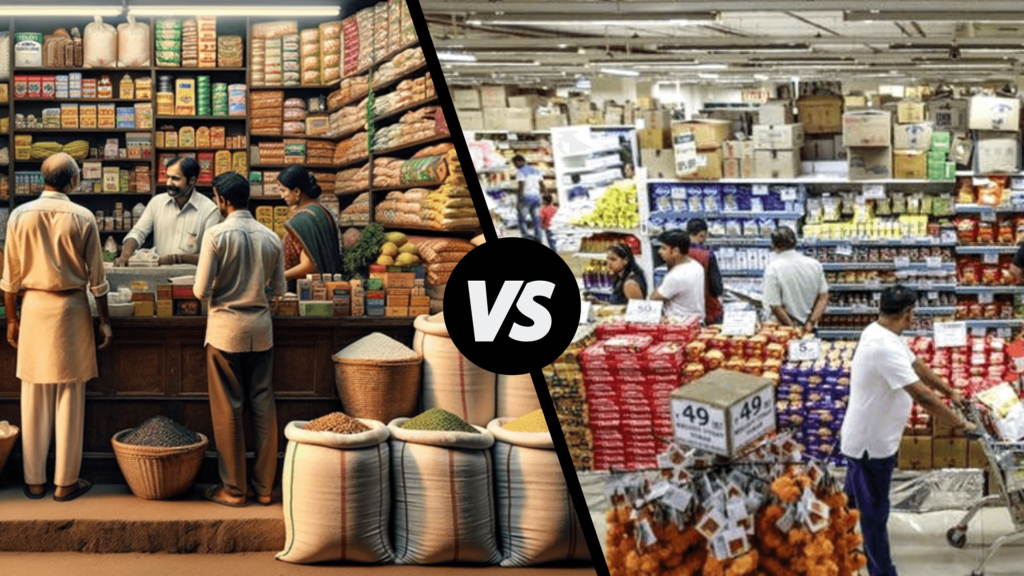

The success of any Kirana stores and Supermarkets, somewhere largely depends on how well its products are displayed and organized. An organized and visually appealing product display can significantly influence customer buying behavior and increase sales. One powerful tool that can be used to achieve this is a planogram. In this blog, we will learn about the concept of a planogram, its benefits, and the step-by-step process to create an effective planogram for your Kirana store or supermarket.
What is a Planogram?
A planogram is a strategic arrangement of products on different kinds of shelves and racks to ensure proper utilization of space and to craft an effective flow of products on display. It optimizes the placement of products, ensuring maximum visibility and easy access for customers.
Benefits of Planograms –
1. Improves Shopping Experience:
A well-structured planogram enhances the shopping experience for customers by making it easier for them to find products. This increases customer satisfaction and encourages more purchases.
2. Increased Sales:
By thoughtfully placing products based on customer behavior and shopping patterns, planograms can lead to increased sales and higher profits for the store.
3. Proper Utilization of Shelf Space:
Planograms help make the best use of available shelf space, ensuring that no space goes to waste.
4. Reduced Losses:
With products placed in an organized manner, there is less chance of damage or theft.
5. Promotional Efficiency:
During promotional times, planograms can be adjusted to highlight promotional products effectively.
Steps to Make an Effective Planogram –
1. Step 1 – Analyze Store Layout and Space
Begin by analyzing your Kirana store or supermarket’s layout and available storing space on the shelves and racks. For more information on How you can plan the Layout of your store Read Here!
2. Step 2- Identify Shelving Priority of Categories
This is a crucial step in organizing your planogram. You need to Identify Important Categories for Hot Spot areas such as End Caps, Facades of your store, etc.
Allocate prime shelf space to High-Value Items and Premium Products. These products should be placed at eye level, where they are most likely to catch the attention of customers.
Identify space for impulse items
3. Step 3 – Create Product Clusters
Create Grocery, FMCG Food & Non-Food clusters. Consider both side displays along the aisle for clustering purposes.
4. Step 4 – Arrange the Grocery Area
Special consideration should be given to the arrangement of the Grocery in a store. Ideally, the Grocery should be located at the extreme end corners of the store. Create a Dump space for Groceries.
5. Step 5 – Create a Flow of Categories
Create a flow of categories for Food and Non-Food following the circulation plan. Place complementary products together to encourage cross-selling. For example, if a customer picks up pasta, placing pasta sauce nearby can lead to additional sales.
6. Step 6 – Placement of Chillers and Freezers
Ideally, chilled & Frozen categories in the Chillers & Freezers should be placed at the end of the shopping trip near the cash tills
In Conclusion, a well-designed planogram will definitely help in the proper organization and grabbing the attention of the customers towards one or more products. By strategically organising products based on customer preferences and shopping patterns, planograms can lead to improved sales and enhanced customer experience. If you need an Expert’s advice on an effective planogram for your store that can create a positive impact on your business then Get in Touch with Us by Calling on 8010224444.
You can also Download the Kirana Friends application from Google PlayStore by clicking on the link below.